
Transform Your Waste into Plant Power: A Guide to Creating a Worm Bin in Small Spaces
Are you looking for a way to reduce waste in your small space while also creating amazing compost for your plants? Starting a worm bin is a great solution! Worm bins are a small-scale composting system that uses worms to break down organic waste and create nutrient-rich vermicompost. In this article, you will learn all the steps involved in setting up and maintaining an efficient worm bin, even in an area with limited space.
There are countless benefits to using worm bins. Not only do they reduce waste but they also create nutrient-rich compost which helps plants grow healthily. Vermicompost adds essential nutrients to the soil, improving its overall health and fertility. This compost also contains beneficial microbes and microorganisms vital for plant growth and disease resistance while minimizing the risk of root diseases.
1. Understanding the Benefits of Worm Bins
Worm bins offer a multitude of advantages that make them a valuable addition to any home, especially those with limited space.
Firstly, worm bins effectively reduce waste. Organic waste, such as fruit and vegetable peelings, coffee grounds, and paper, can be diverted from landfills and composted in a worm bin. This not only reduces the amount of waste sent to landfills but also creates nutrient-rich compost that can be used to enhance plant growth.
Secondly, worm bins create nutrient-rich compost. Vermicompost, the product of worm composting, is rich in essential nutrients for plants, including nitrogen, phosphorus, and potassium. It also contains beneficial microbes and microorganisms that improve soil health and fertility. By using vermicompost, you can reduce the need for chemical fertilizers while promoting healthier plant growth.
Thirdly, worm bins enhance plant growth. Vermicompost has been shown to improve plant growth and yields in various studies. It provides a slow-release source of nutrients that helps plants grow strong and healthy. Additionally, vermicompost improves soil structure, aeration, and water retention, creating an optimal environment for plant roots to thrive.
2. Choosing the Right Bin and Worms
When selecting a worm bin and worms, there are several factors to consider, especially if you have space constraints and specific composting goals.
Choosing the Right Bin:
- Size: The size of the bin will depend on the amount of organic waste you generate and the number of worms you want to keep. For small spaces, consider compact bins with a capacity of 5-10 gallons.
- Material: Worm bins can be made from various materials, including plastic, wood, and metal. Plastic bins are lightweight and durable, while wooden bins provide insulation and a more natural environment for worms.
- Design: There are different types of worm bin designs available, such as stackable bins, flow-through systems, and continuous flow systems. Choose a design that suits your space and composting needs.
Choosing the Right Worms:
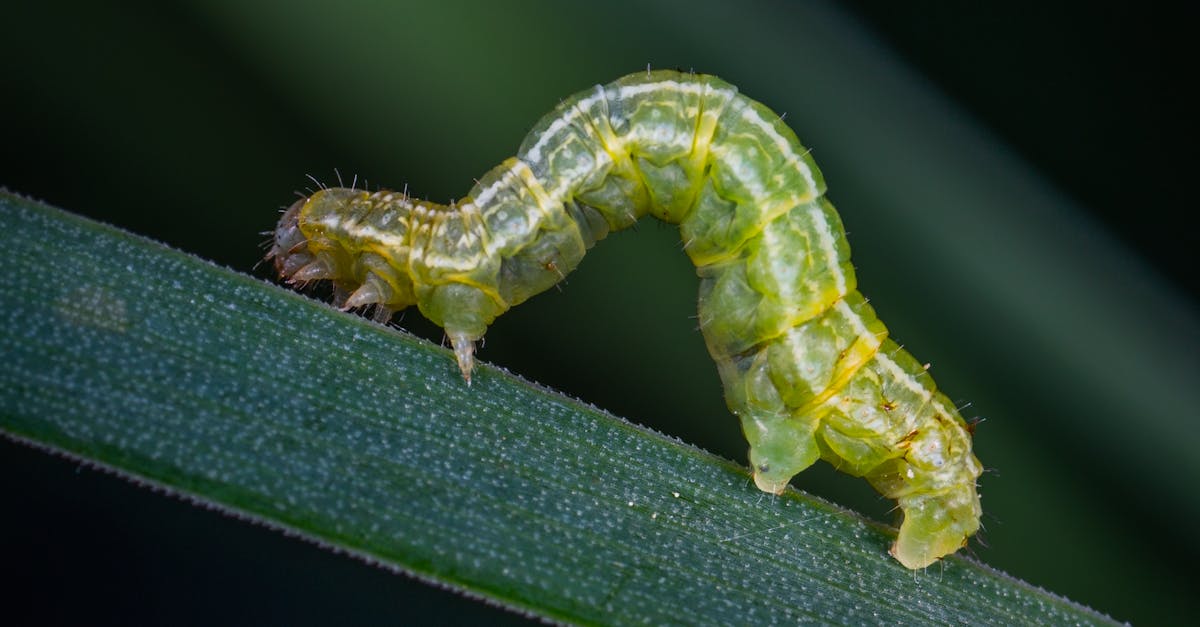
- Species: There are several species of worms suitable for vermicomposting, including red wigglers (Eisenia fetida) and tiger worms (Eisenia andrei). Red wigglers are known to be voracious eaters and can tolerate a wide range of temperatures.
- Quantity: The number of worms you need will depend on the size of your bin and the amount of organic waste you generate. A good starting point is to add 1 pound of worms for every 5 gallons of bin capacity.
Considering Space Constraints and Composting Goals:
- Space constraints: If you have limited space, consider vertical worm bin systems or stackable bins to maximize vertical space.
- Composting goals: Different worm species have varying composting rates and preferences. Research different species and choose those that align with your composting goals, such as faster composting or specific nutrient requirements.
3. Setting Up Your Worm Bin: A Step-by-Step Guide
Setting up your worm bin is a simple and straightforward process that can be completed in a few steps to create a thriving environment for your worms and efficient composting.
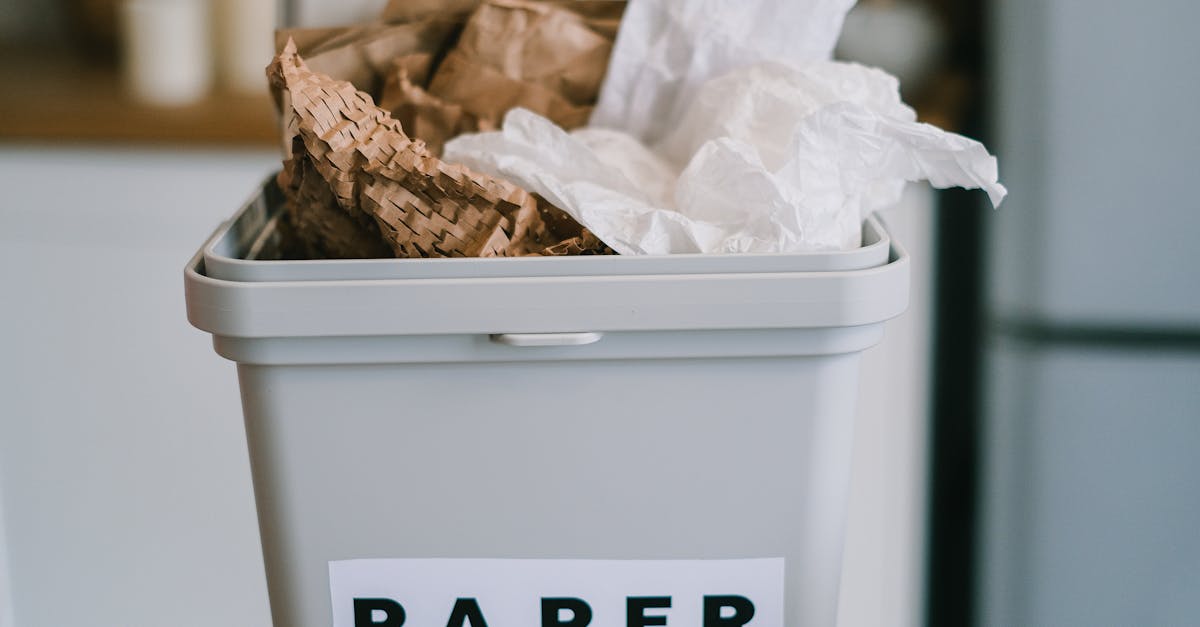
- Creating the Base Layer: Start by creating a base layer at the bottom of your worm bin. This layer will provide drainage and aeration for the bin. You can use materials like shredded cardboard, coconut coir, or a mixture of both. Fill the bottom 2-3 inches of the bin with the chosen material.
- Adding Bedding: Next, add bedding to the bin. Bedding provides a habitat for the worms and helps absorb moisture. Use materials like shredded paper, dry leaves, or straw. Avoid using glossy or colored paper as they may contain harmful chemicals. Fill the bin with 6-8 inches of bedding.
- Introducing the Worms: Once the bedding is in place, it’s time to introduce the worms. Gently place the worms on top of the bedding and cover them with a thin layer of additional bedding. Avoid overfeeding the worms initially and gradually increase the amount of food scraps you add as the worms settle in.
4. Maintaining Your Worm Bin for Success

Maintaining a worm bin for successful composting requires proper feeding techniques, moisture and temperature management, and strategies to avoid common issues. By following these guidelines, you can ensure a thriving worm bin that produces nutrient-rich compost.
Feeding Techniques: Feed your worms a variety of organic waste, including fruit and vegetable scraps, coffee grounds, tea bags, and shredded paper. Avoid feeding them meat, dairy products, or processed foods. Add food scraps gradually to prevent overloading and unpleasant odors. Bury the food scraps under the bedding to minimize fruit flies.
Moisture and Temperature Management: Worms prefer a moist environment, but the bedding should not be soggy. Check the moisture level by squeezing a handful of bedding; it should feel damp but not dripping wet. Adjust the moisture by adding dry bedding or misting with water as needed. Worms thrive in temperatures between 55-75°F (13-24°C). If temperatures drop below 55°F, insulate the bin with blankets or move it to a warmer location. If temperatures exceed 75°F, provide ventilation by opening the lid or adding aeration holes to the bin.
5. Harvesting and Using Vermicompost
Harvesting vermicompost is a rewarding experience, providing nutrient-rich compost for your plants. Here’s how to harvest and use vermicompost effectively:
When to Harvest: Vermicompost is ready to harvest when it has a dark, crumbly texture and a sweet, earthy smell. The worms will have consumed most of the organic matter, leaving behind nutrient-rich castings. You can check the progress by digging into the bedding and observing the amount of remaining food scraps.
Harvesting Methods: There are several methods for harvesting vermicompost. One common method is to separate the worms from the castings using a worm bin separator. Another method is to harvest the compost from the bottom of the bin as it accumulates. You can also use a shovel or trowel to scoop out the finished vermicompost.
Using Vermicompost: Vermicompost can be used in various ways to enhance plant growth and soil health. You can mix it into potting soil, use it as a top dressing for established plants, or brew it into a liquid fertilizer. Vermicompost provides essential nutrients, improves soil structure, and promotes beneficial microbial activity, resulting in healthier and more productive plants.
Quiz: Test Your Understanding of Worm Bin Basics
1. What are the primary benefits of using a worm bin for composting?
(a) Reduces waste, creates nutrient-rich compost, and enhances plant growth (b) Eliminates the need for chemical fertilizers (c) Attracts wildlife to your garden (d) All of the above
2. Which of the following materials is NOT suitable for use as bedding in a worm bin?
(a) Shredded paper (b) Dry leaves (c) Glossy magazine pages (d) Coconut coir
3. What is the ideal temperature range for most worm species used in vermicomposting?
(a) 40-50°F (b) 55-75°F (c) 75-85°F (d) 85-95°F
4. How do you harvest vermicompost when using a worm bin separator?
(a) Collect the compost from the bottom of the bin (b) Separate the worms from the castings using a separator (c) Dig into the bedding to remove the finished compost (d) Pour water through the bin to separate the castings
5. What is the best way to use vermicompost for plants?
(a) As a sole potting mix (b) Mixed into potting soil or as a top dressing (c) Brewed into a liquid fertilizer (d) All of the above
Answer Key:
- (a)
- (c)
- (b)
- (b)
- (d)
Unleashing the Potential of Smart Garden Technology for Balcony Gardening With the rise of smart technology, balcony gardening has become Read more
Enhancing Balcony Living with Fruitful Delights: A Guide to Cultivating Dwarf Fruit Trees in Urban Spaces Unveiling the Enchanting World Read more
Organic Solutions for Thriving Balcony Gardens Organic Fertilizers for Balcony Gardens: A Comprehensive Guide. Balcony gardening has become increasingly popular Read more
Unlocking the Potential of Balcony Gardening: Innovative Techniques for Flourishing Greenery in Urban Spaces Balcony gardening has become increasingly popular Read more